This post may not appeal to all of the readers who normally frequent my blog, but that’s ok! I’ll be back to posting my normal travel stuff soon.
I wanted to make this build a separate post from my spring semester post, since I wanted more time to explain my whole process building this platform.
- What car do you have?
- What did you build?
- Materials
- Design
- The Build Process
- Results
- Action Shots
- Conclusions
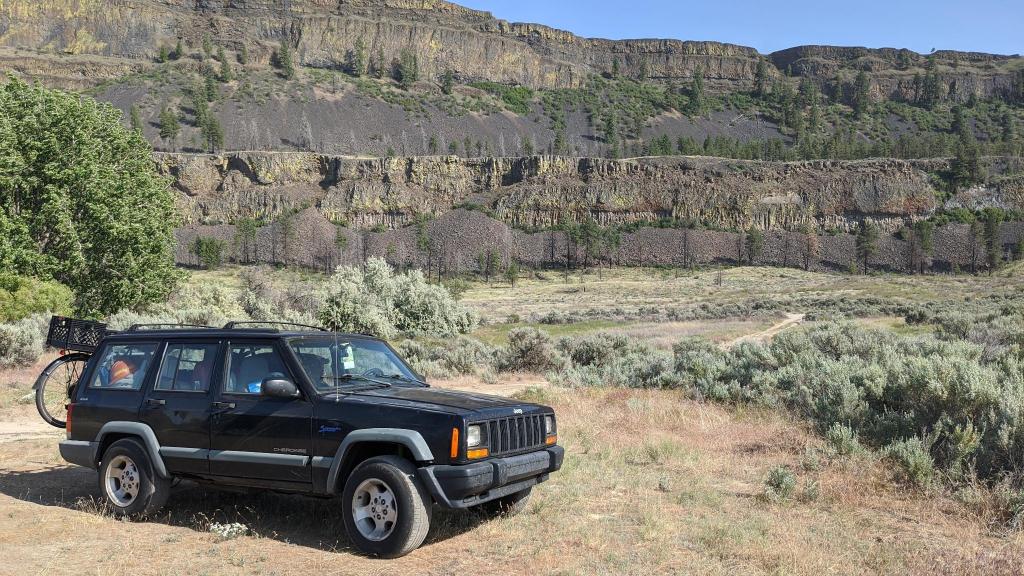
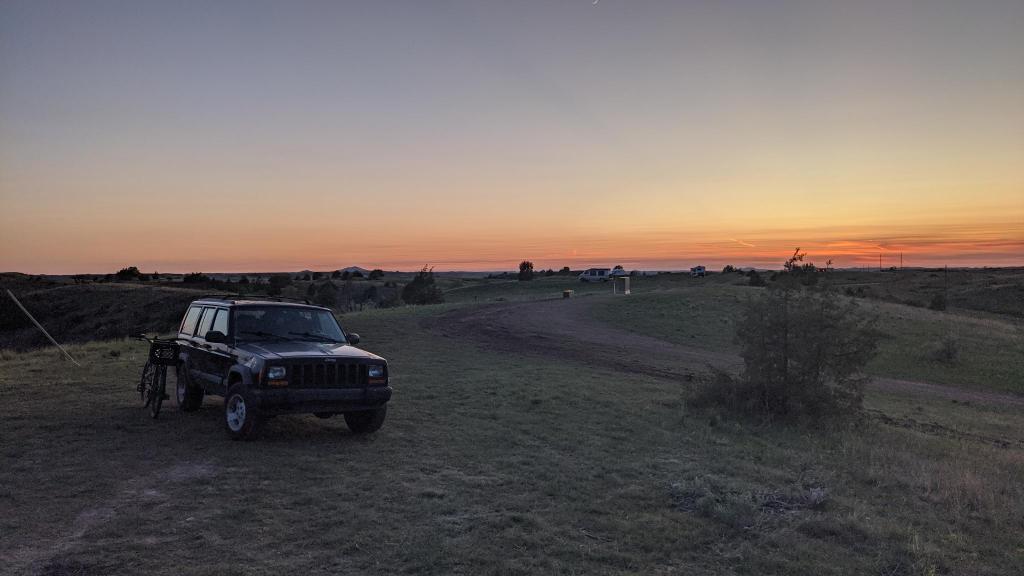
What car do you have?
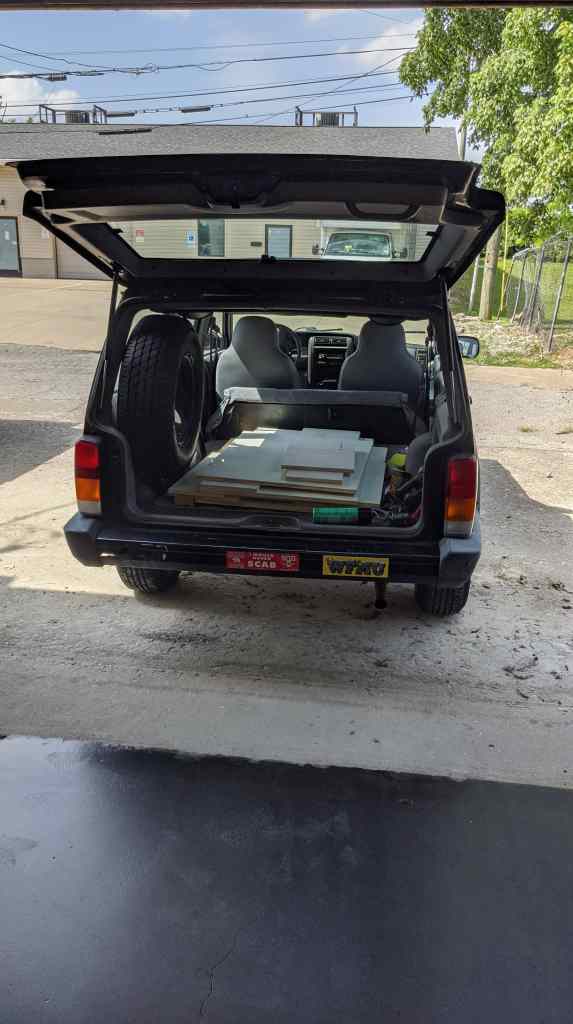
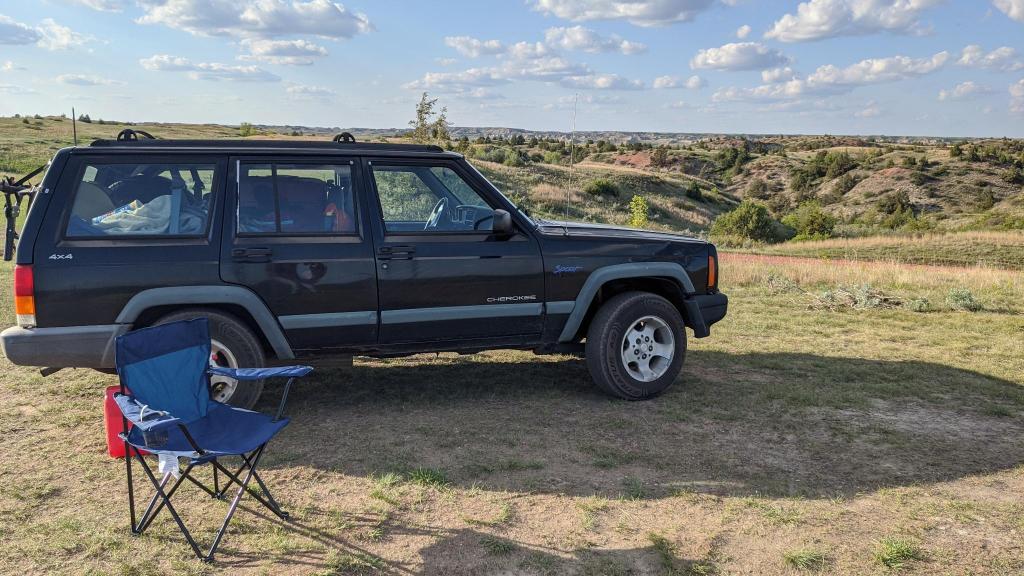
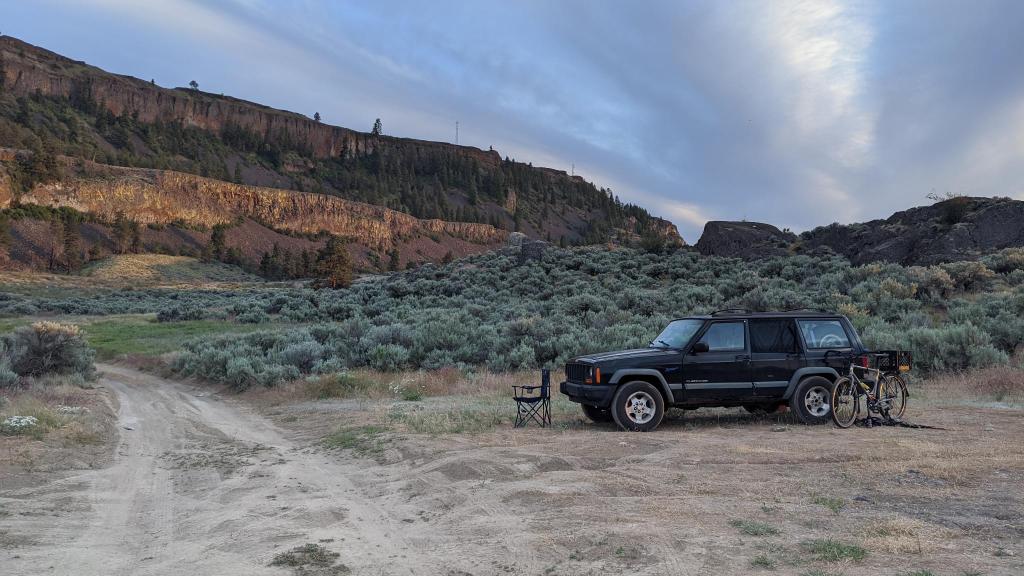
I have a 1998 Jeep Cherokee Sport, often simply called an XJ because of its body design. I bought in May of 2025 as an upgrade from my 2011 Hyundai Sonata because I wanted 4 wheel drive, higher clearance, and the ability to sleep in my car while carrying a lot of cargo.
Here is a photo of it!
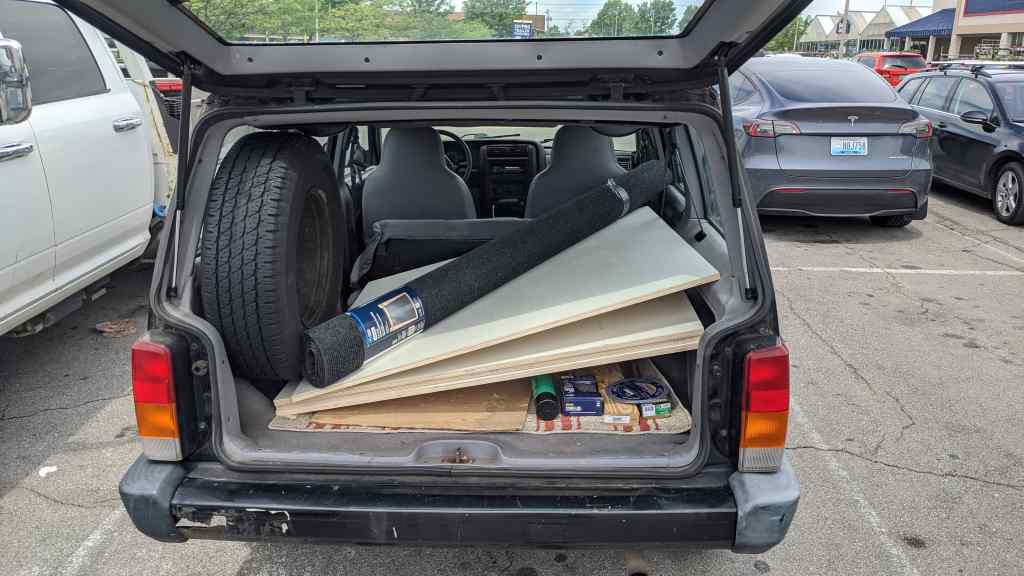
What did you build?
I made a sleeping platform so I could increase my storage capacity and sleep inside of the jeep without having to move too much stuff around.

The entire build took me about a day of combined time, but I got the whole thing done over the course of a week. The reason it took me so long was coordinating tool use and going on a trip in the middle of the build. If I had all of the tools in front of me for as long as I wanted, it probably would have taken about 8 hours to complete.
Materials
For this build I used:
- 2 – 4’x8′ 3/4″ hardwood veneer plywood sheets
- A bunch of T25 8×1-5/8″ screws
- One large multipurpose outdoor rug with no lining on the bottom (cut to size)
- 3M 90 Strength Adhesive
- 1 – 2″x2″x8′ pine post
To make the cuts I used:
- Circular saw
- Miter saw
- Table saw
You don’t need all of those, but I had access to them so that’s what I used. You could do all of these cuts with just a circular saw. It would also be a good idea to get a chalk line (with chalk! They don’t come with it pre installed) so that you can align your cuts on your plywood.
I chose the hardwood veneer plywood as opposed to pine because I felt like it would last a bit longer and I wanted the platform to look a little nicer. Granted, most of this will be covered with carpet, but it was the thought that counted.
Design
I got the design from this YouTube video:
I made some slight modifications to fit my particular XJ. The most notable being that I shifted the back section over to accommodate the spare tire in the back. In the future I’d like to get a holder that keeps the spare on the outside of the vehicle, but I’m happy with this arrangement for now.
I also decided to ditch the front extender section that he was talking about in the video. It made sense for his XJ to have, but they way my seats fold fulfill that same purpose, so I did away with that part of the design.
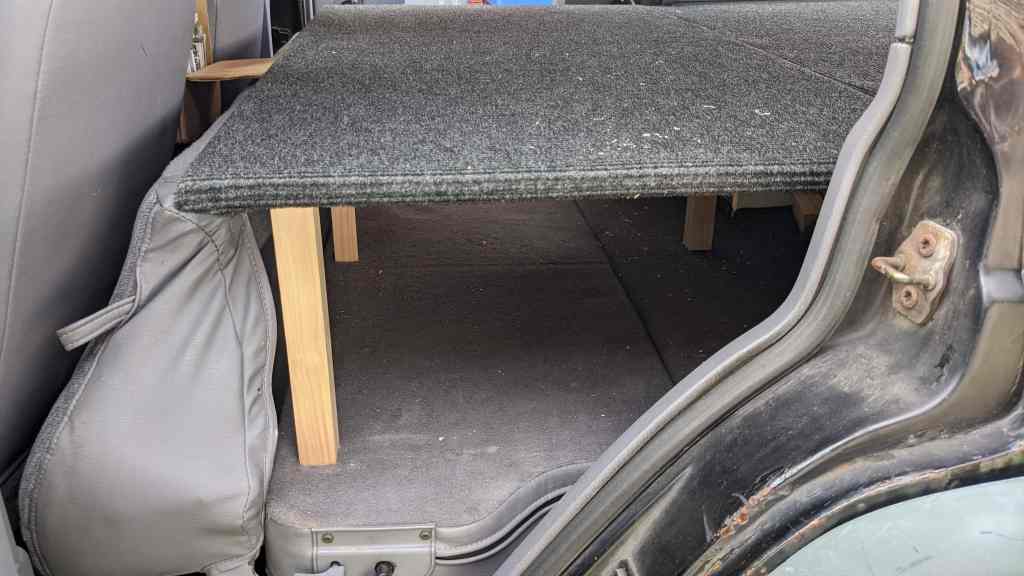
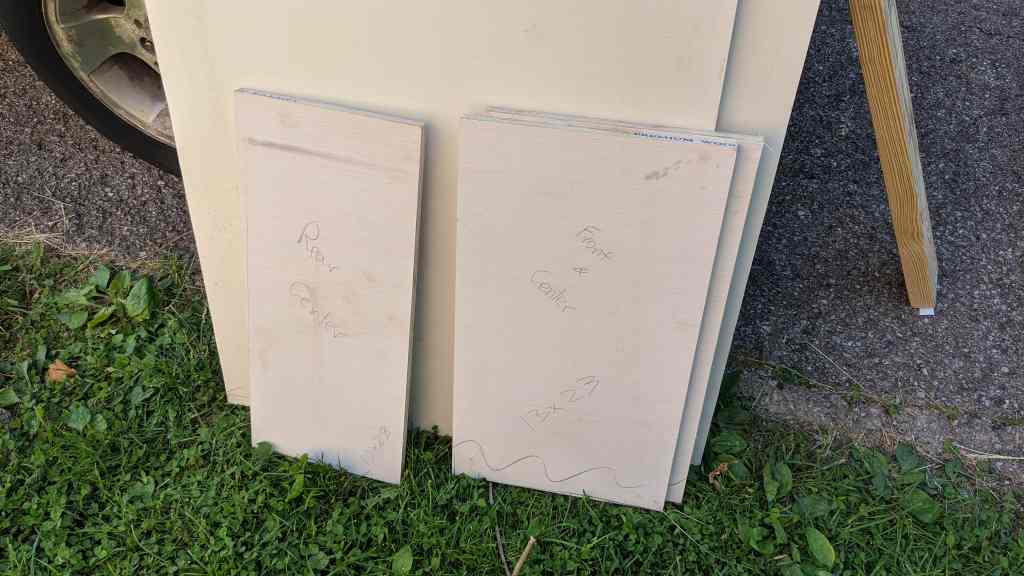
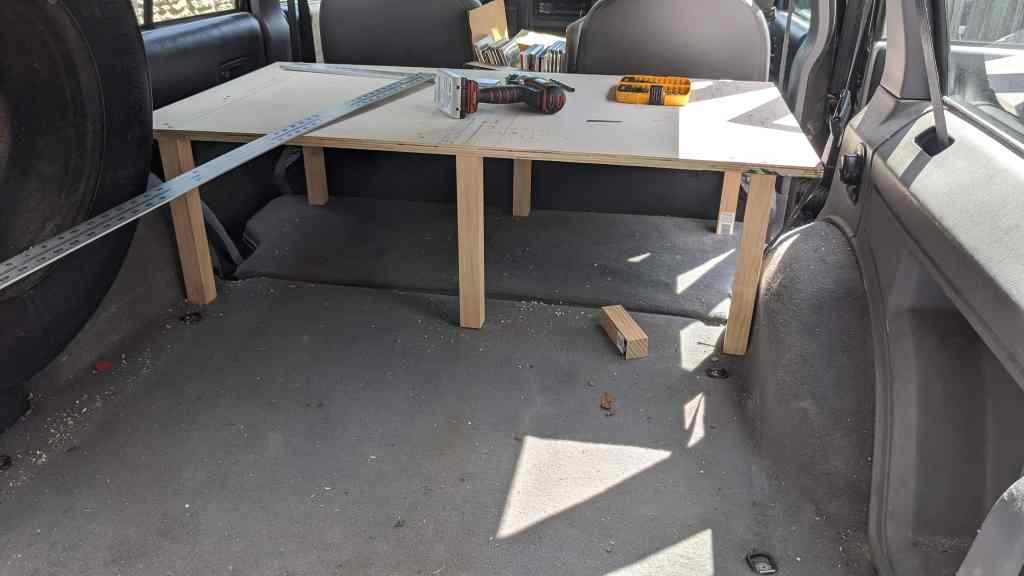
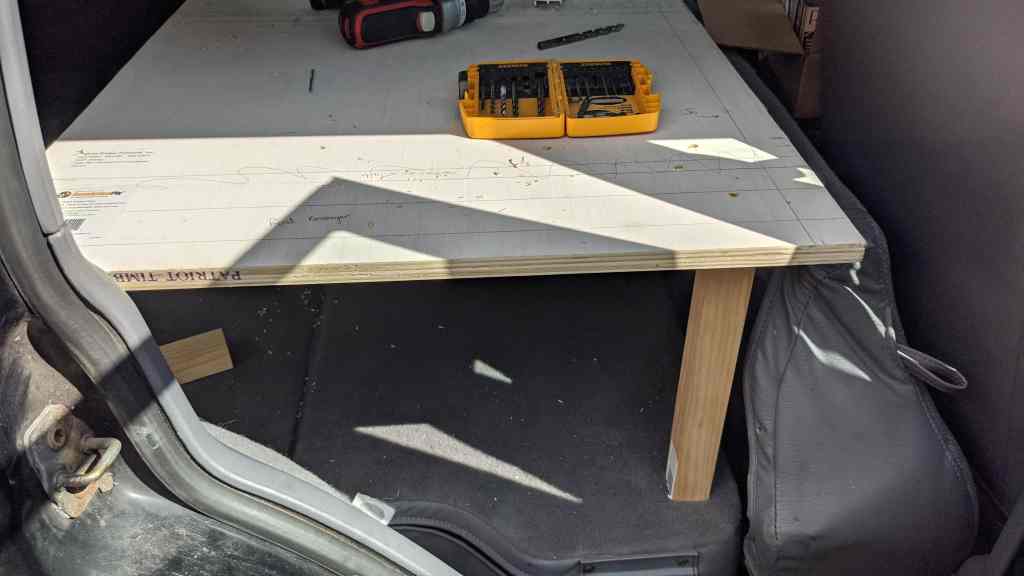
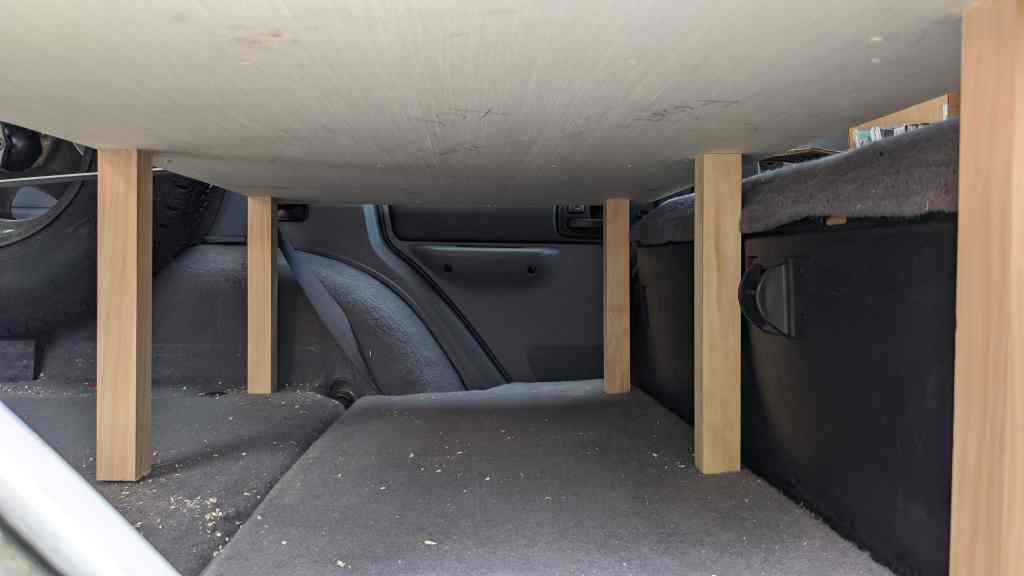
I also made these table-legs from 2x2x8 pine. I had taken the XJ out on a camping trip mid-build and the original siding of the front section was made of plywood. I decided that I wanted access to the center section so I took the plywood out and cut these legs to length. Overall, I’m happy with how that part turned out! I added some 2x4s for stability underneath.
Now I have lots of storage in the front section, and I can access it all from the side doors, which was a big problem I had with the old design.
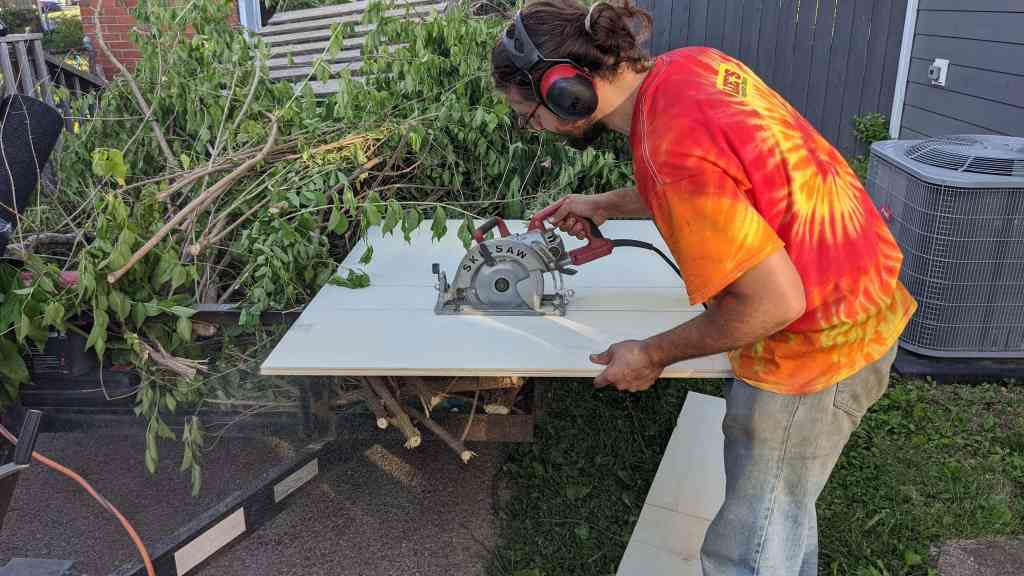
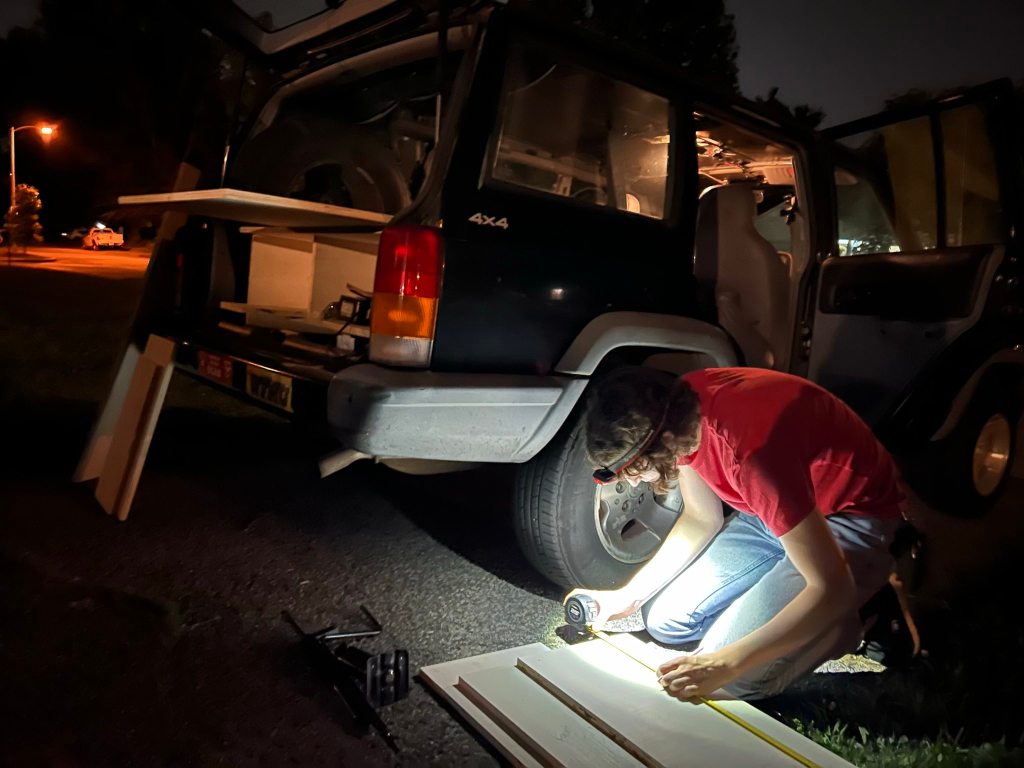
The Build Process
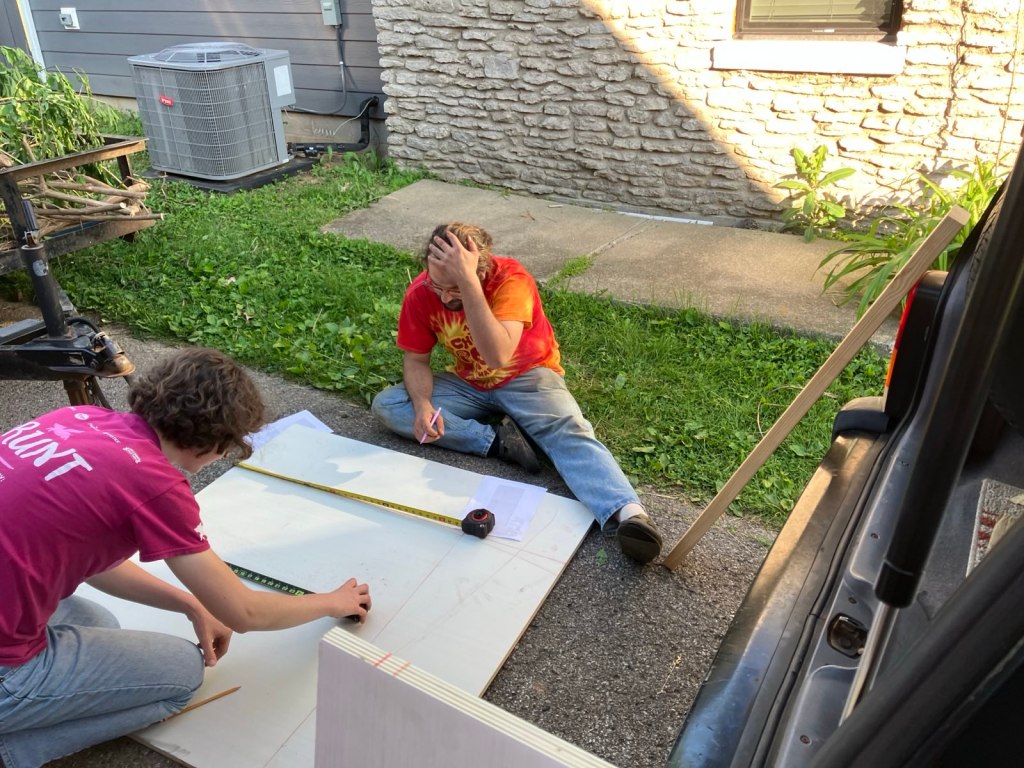
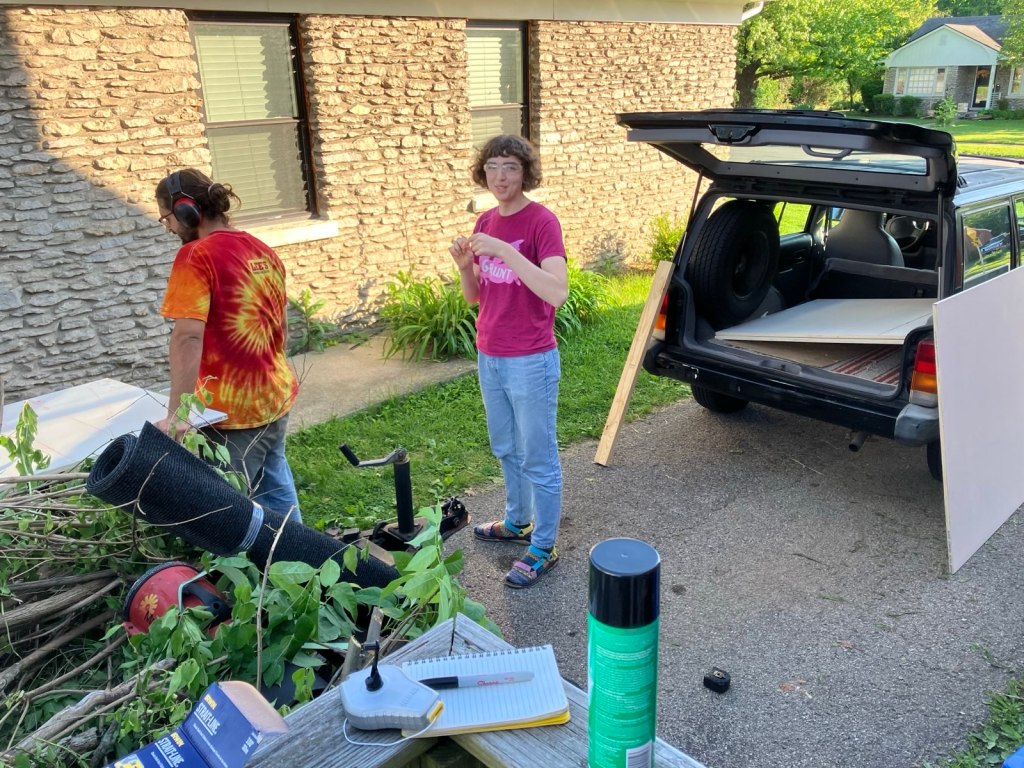
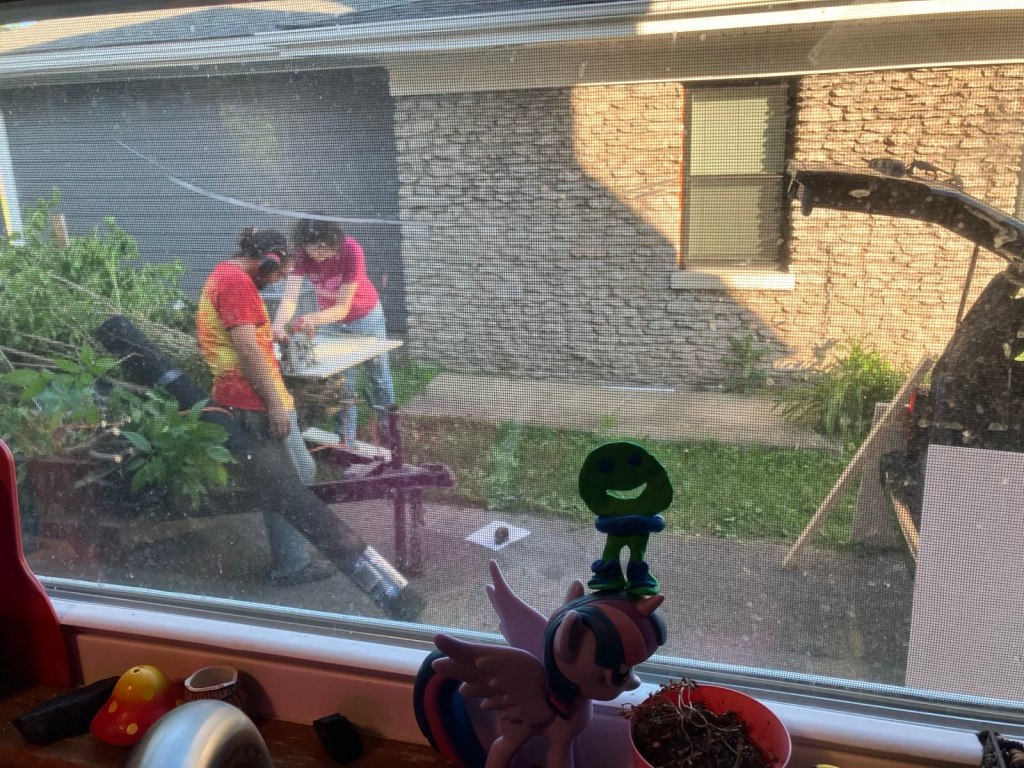
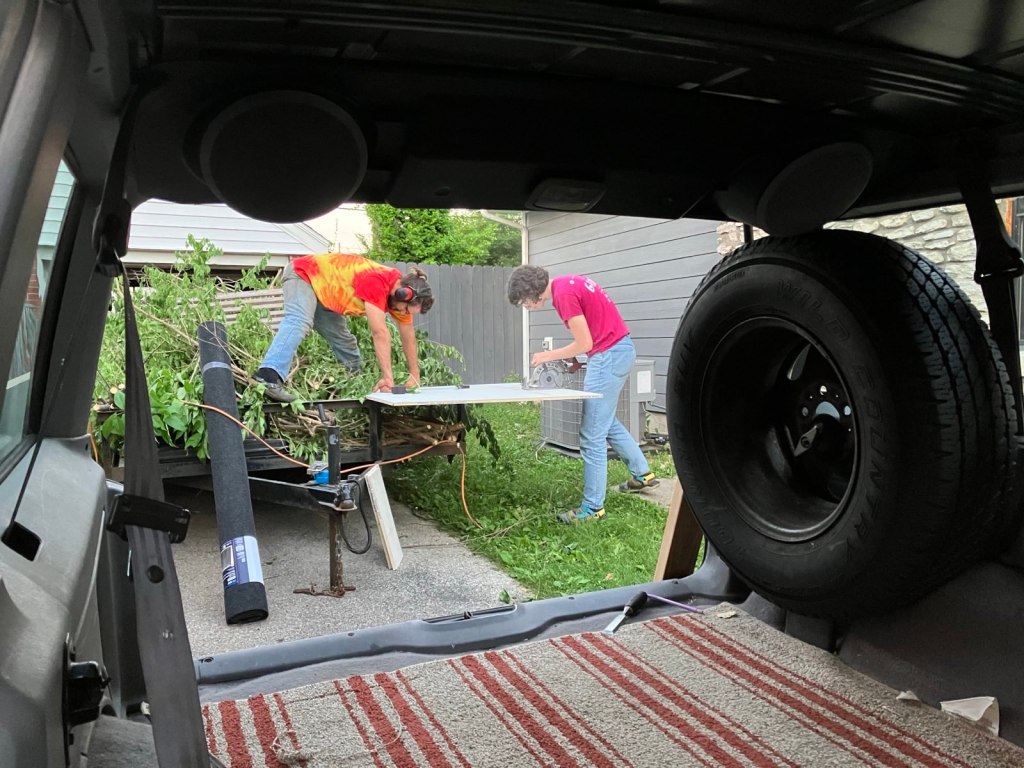
I had my roommate, Elijah, who is a carpenter help me with the initial cuts for this build and he very kindly let me use his tools. We followed the cut list provided by Graham Green in the video I linked above for all of our cuts, with the notable exception that the widest any of the panels ever got was 48 inches. I made a mistake when I was buying the plywood by telling the store to cut it into 48 inch segments, when they should have been 51 and 45 inches. But this ended up working out in my favor when it came to putting the back section in since the tire was inside of the cab.
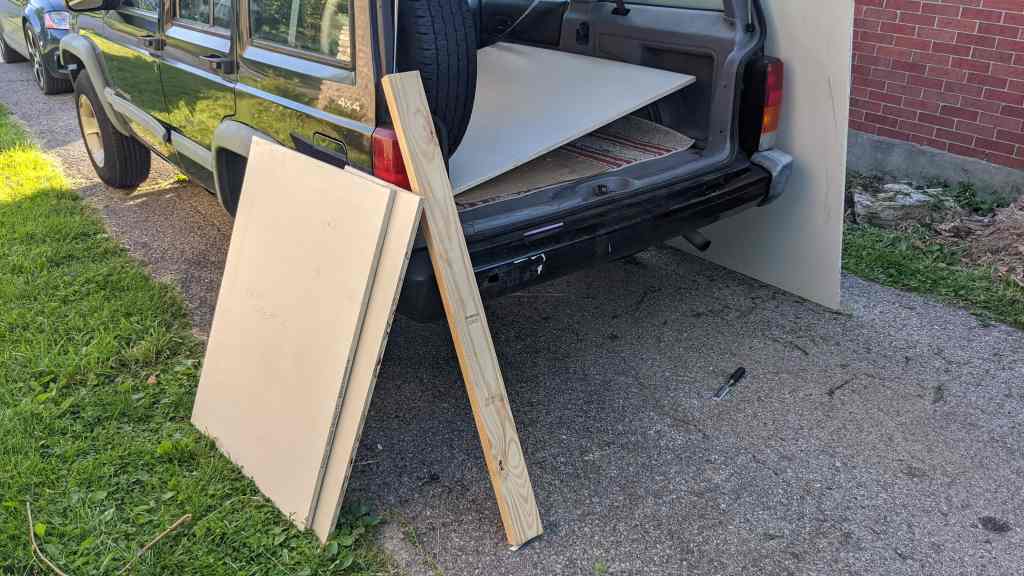

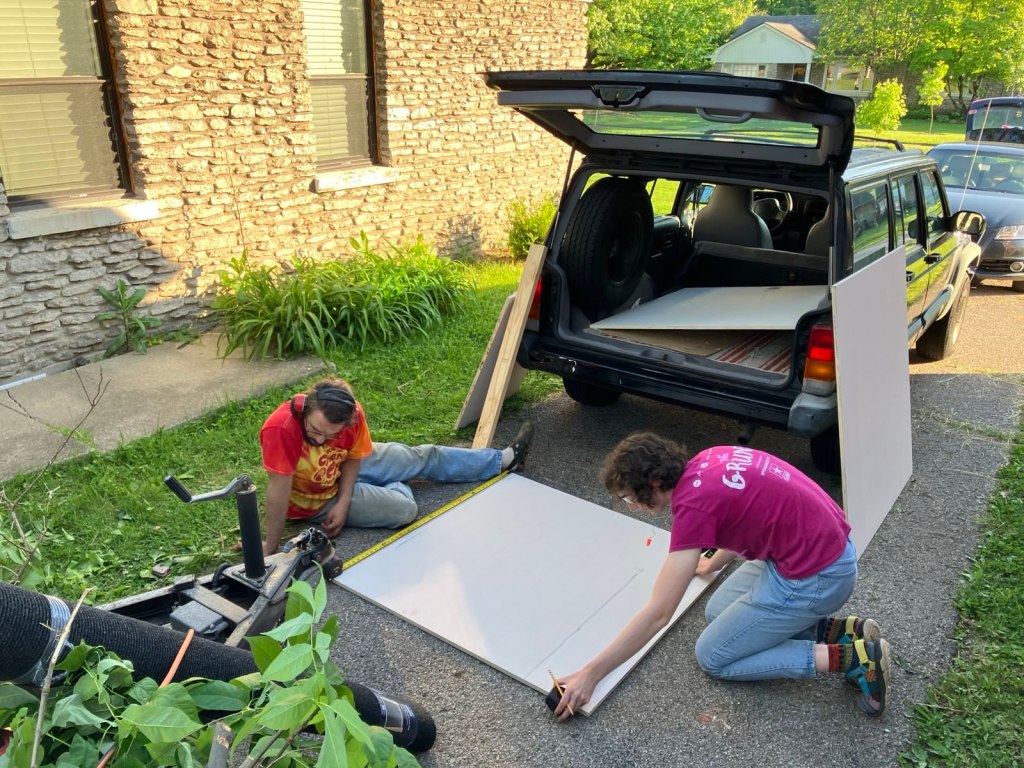
I then took the cut materials to a local maker space and realized we did some of the measurements wrong. There was nothing wrong with the spec sheet, but we had just made mistakes while cutting. You can see it in the last photo on the passenger side plywood wall that the panel is a bit too short.
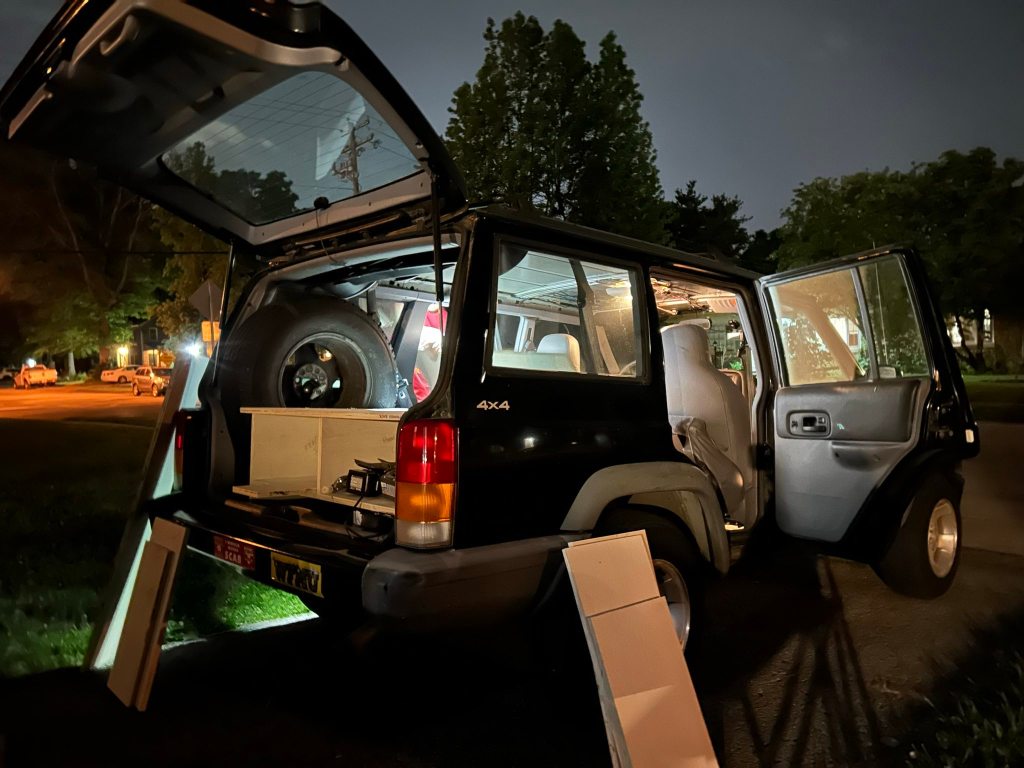
I realized this at the maker space and partially assembled the rear section as much as I could with the pieces I had.
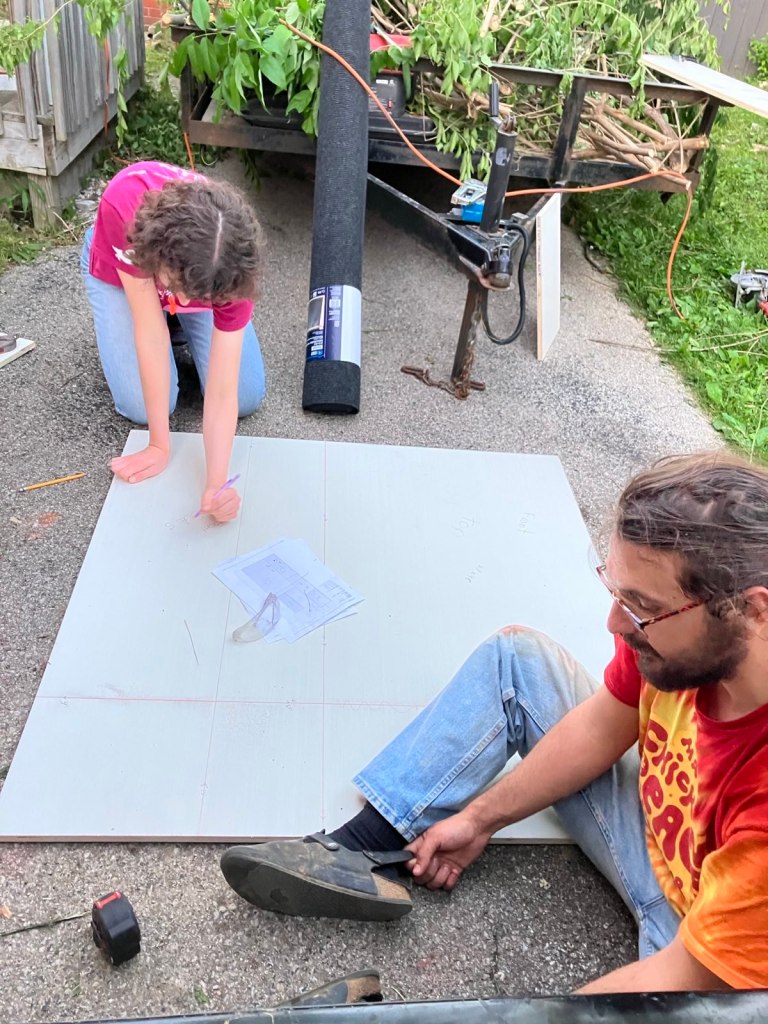
When I got home, I made the proper cuts for the front section and we were off to the races assembling the rest of the platform
The next day, I cut the carpet to size and applied the adhesive to make the rear section ready to use for camping. I was still not sure about the front section so I waited a bit to put the carpet on.

It was at this point that I also took a small corner bite out of the top panel so that it would fit!
At this point it was technically ready for a trial run, so I went out into the woods and made some notes! Then I got back to work fixing the front section and turning the panels into legs
Once that was all done, I put the carpet on the front section. All that was left to do was to add some screws for bungee cords, and that finished the build!

I think eventually I would like to replace the screws I used to keep the bungee cords in place with eyelets because sometimes the hooks of the bungee cords like to move around.
Results
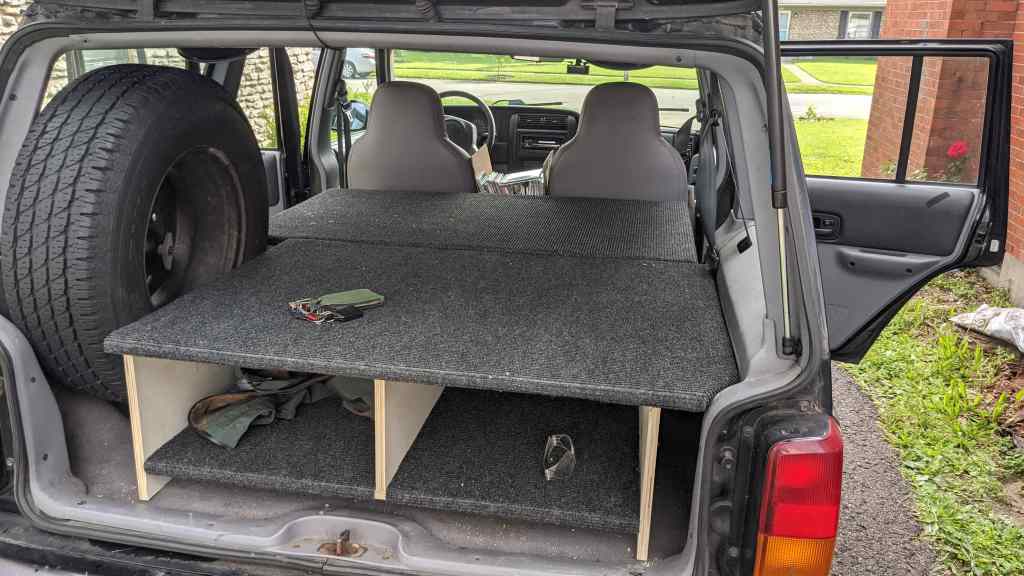
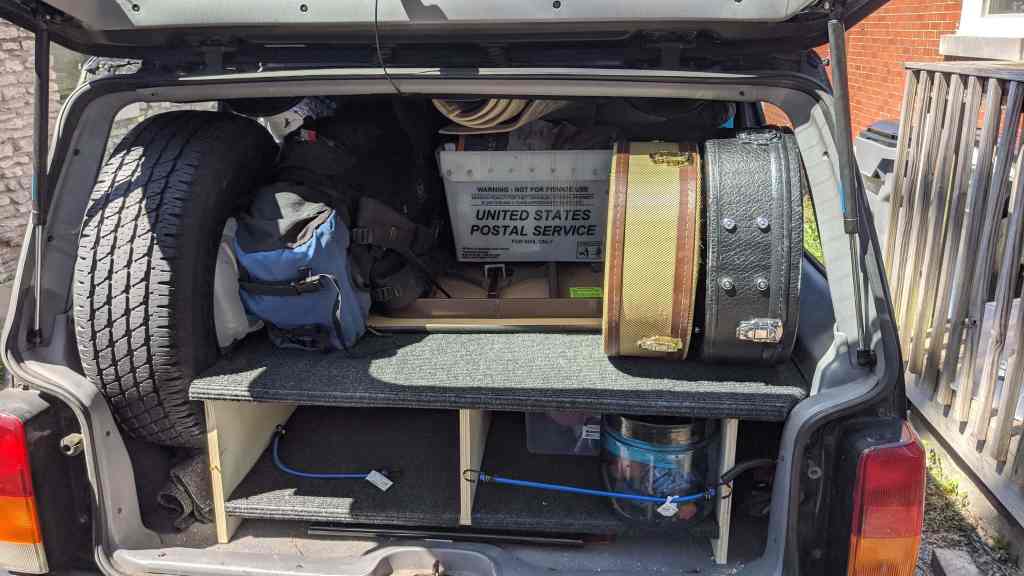
Here is the completed build with a bunch of my stuff in it:
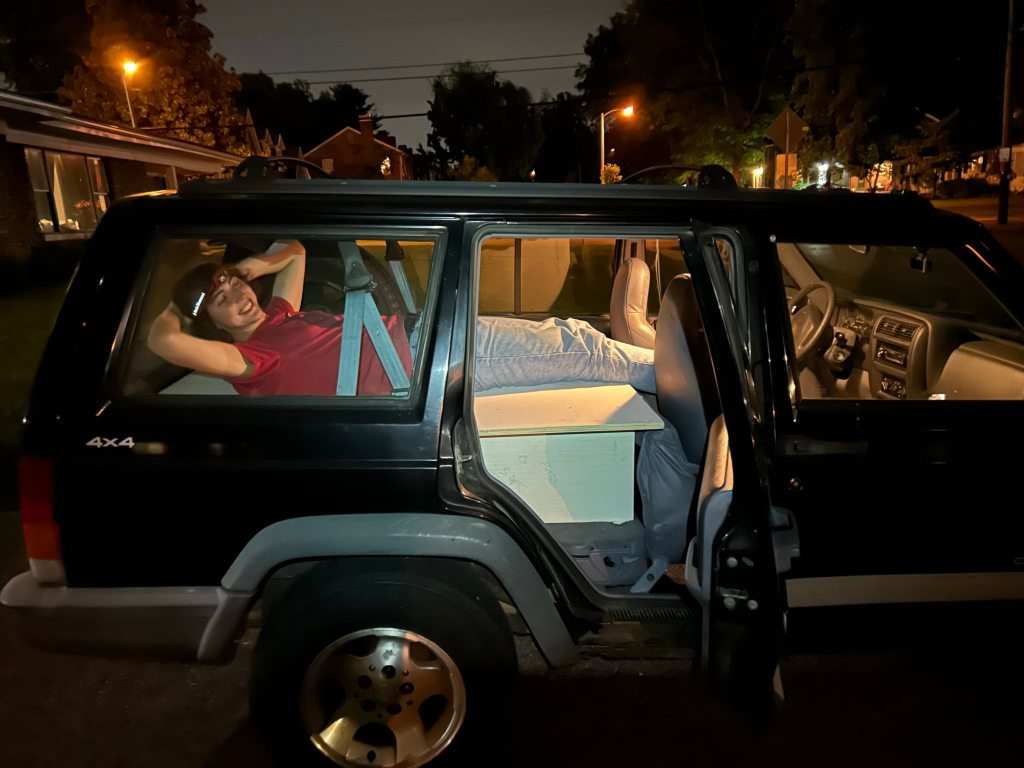
And here it is with my sleeping setup!
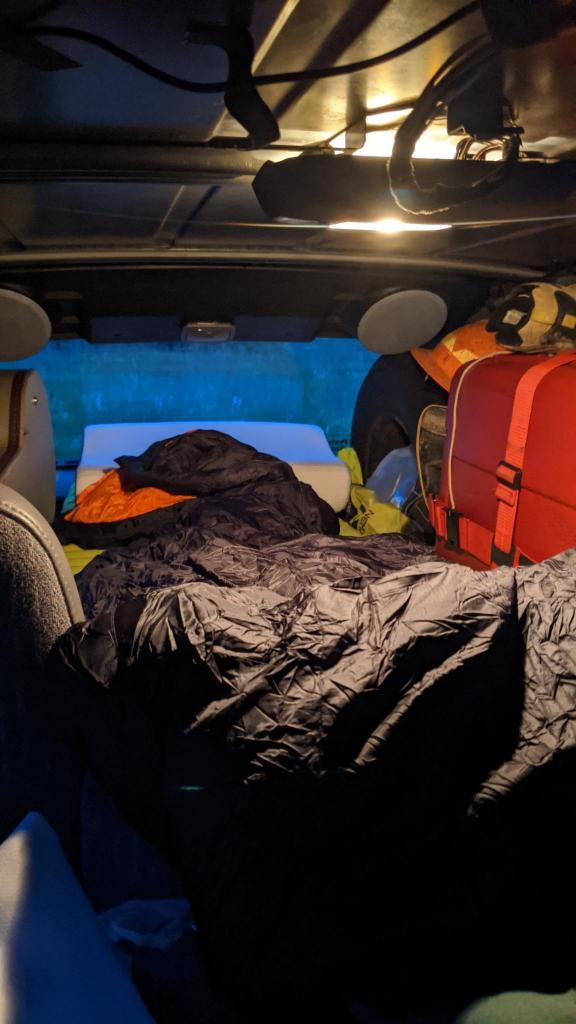
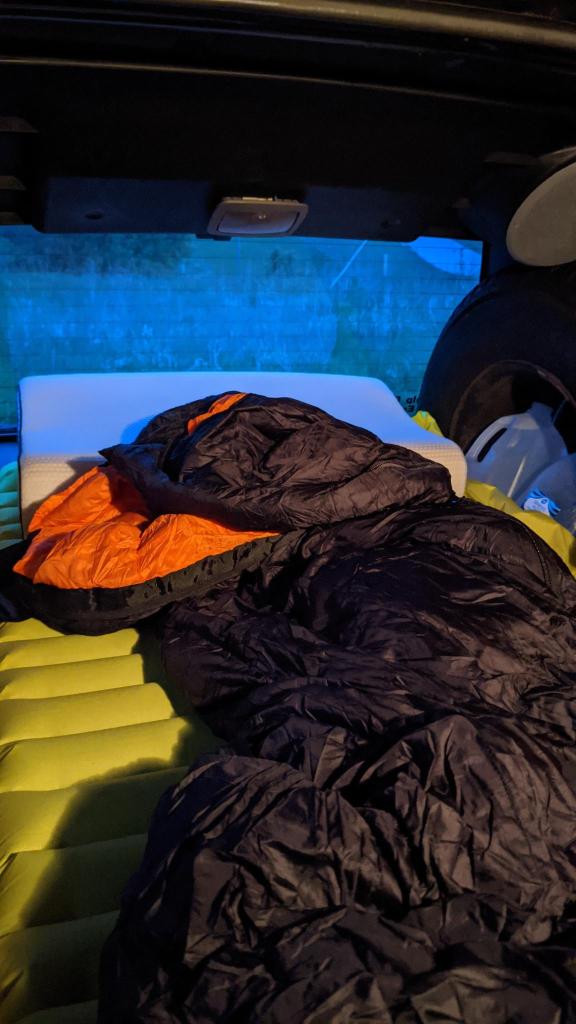
As you can see I sleep with my head at the back of the car. This is because the bed of the XJ is not that long (only about 5 feet long) and I am 6’2″. To remedy this, I let my feet dangle over the center console and support them with a duffel bag or backpack.
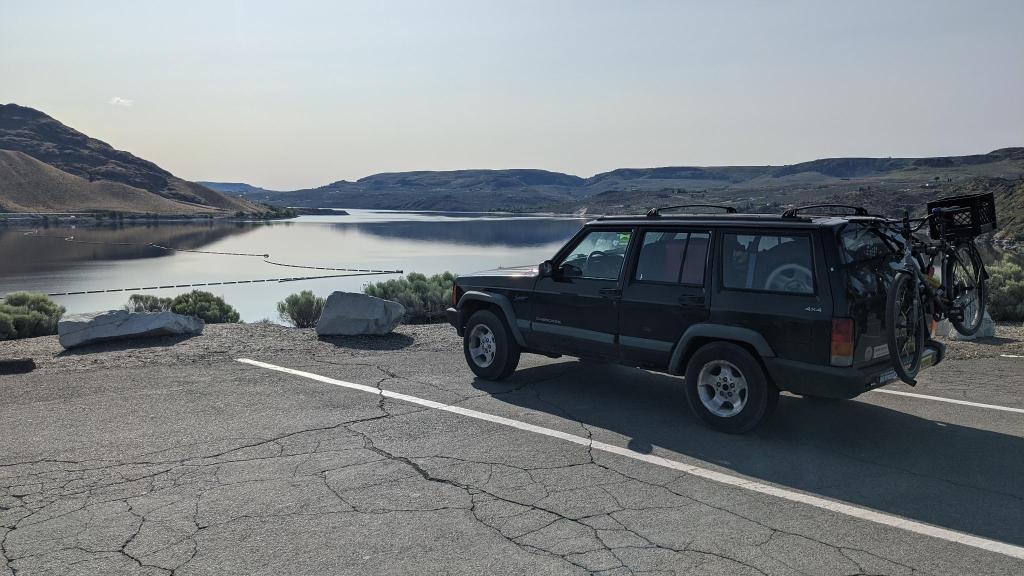
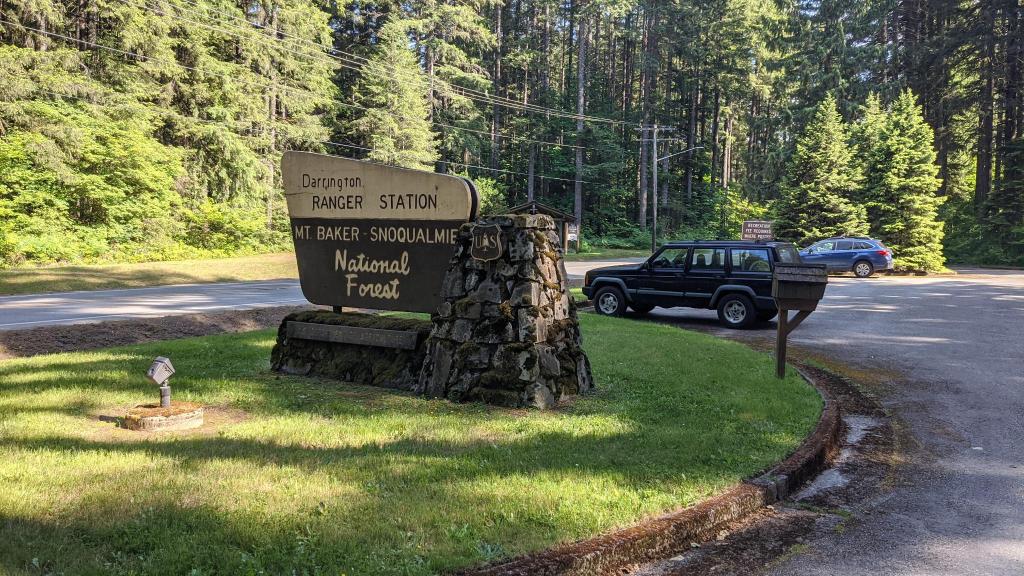
Action Shots


Conclusions
Overall, I’m really happy with this build and it has served me well as I made a cross country drive from KY to WA.
I have everything I need to install blackout curtains on the rear and side windows, and would like to test that out soon.
I would also like to add a sliding drawer like Graham has in his video so that I can have a mobile table whenever I need to cook or eat. I think it would also be cool to have a mobile sink in that section too.
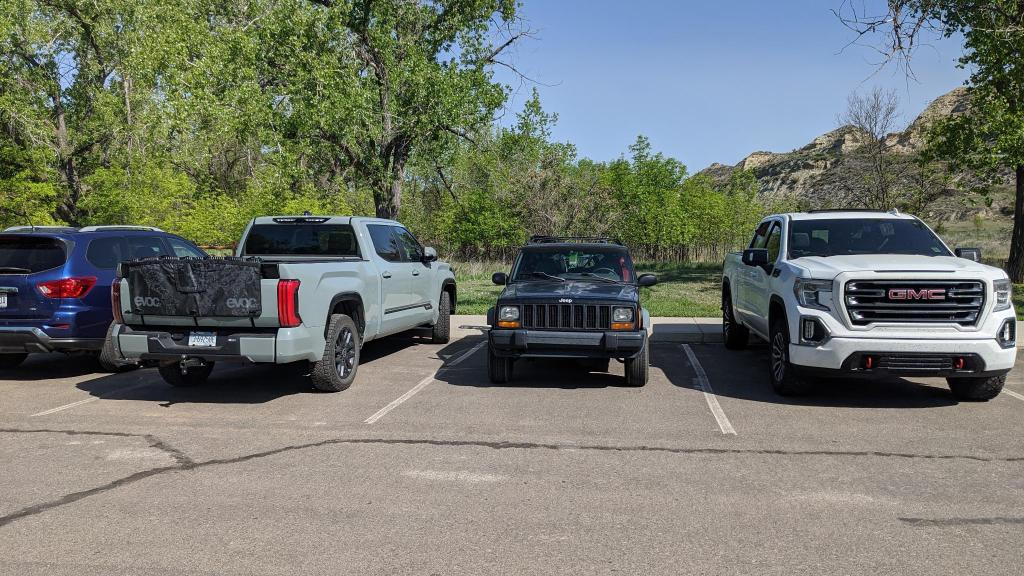
I really like the size of the XJ compared to modern cars. Here it is at a national park! It fits so snugly into the parking spot with room to spare.
I can’t wait to take it on more adventures and to improve on this build.
Thanks for reading!

Leave a reply to So Long, KY – Mushrooms and Arches Cancel reply